Unlock the secrets to flawlessly braided hair! Discover expert tips and tricks straight from the professionals.
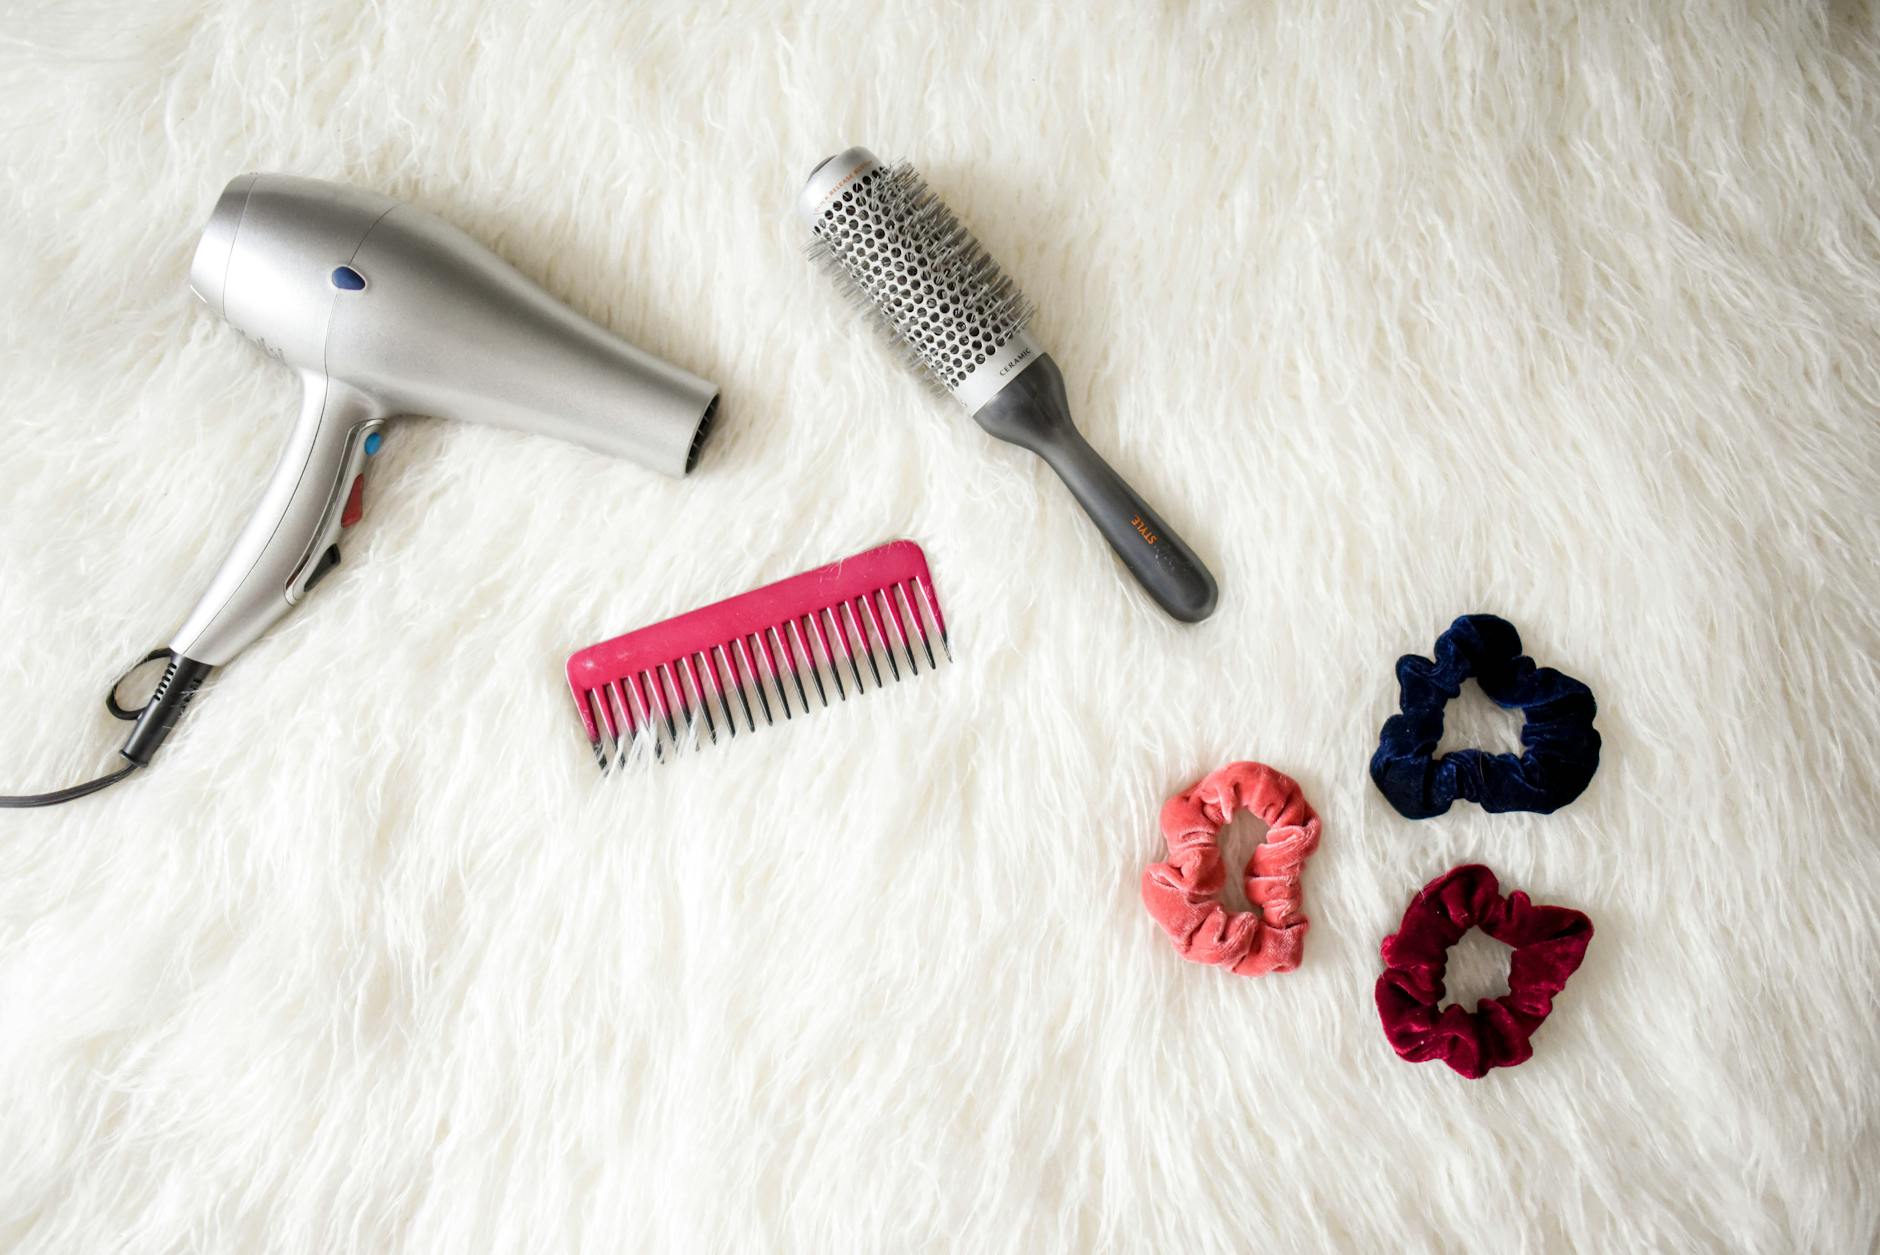
Image courtesy of Element5 Digital via Pexels
Table of Contents
Welcome to our comprehensive guide on achieving perfectly braided hair! Braids have been a timeless hairstyle that has transcended across cultures and generations. Whether you’re aiming for a bohemian vibe, a sleek and elegant look, or simply want to keep your hair out of your face, braids are a versatile choice that never goes out of style. In this blog post, we will walk you through different types of braids, essential tools and products, and step-by-step instructions to help you master the art of braiding.
Braiding Basics: Essential Tools and Products
Before we dive into the various braiding techniques, let’s start by ensuring you have the necessary tools and products to create flawless braids.
Hairbrush or Comb
The foundation of any successful braid is smooth and tangle-free hair. A wide-toothed comb or a paddle brush is essential to detangle your locks before you start braiding. This ensures a clean and sleek base for your braid.
Hairspray or Texturizing Spray
Depending on the style of braid you’re aiming for, a hairspray or texturizing spray can help add grip and hold to your strands. Opt for a lightweight formula that won’t weigh your hair down or make it look stiff.
Elastic Bands or Hair Ties
To secure your braids, elastic bands or hair ties are a must-have. Choose a color that matches your hair to achieve a seamless finish. Additionally, having a few bobby pins on hand can be helpful to secure any loose ends or stray hairs.
The Classic Three-Strand Braid
Let’s start with the timeless classic – the three-strand braid. This basic braid serves as the foundation for more intricate styles, making it an essential technique to master.
Step 1: Prep and Divide
Begin by brushing or combing your hair to remove any knots or tangles. Then, divide your hair into three equal sections – left, middle, and right. Hold the left section with your left hand, the middle section with your right hand, and allow the right section to hang freely.
Step 2: Cross and Weave
To start braiding, take the left section and cross it over the middle section, so the left section becomes the new middle section. Next, take the right section and cross it over the middle section, so the right section becomes the new middle section. Repeat these steps, alternating between the left and right sections, until you reach the end of your hair.
Step 3: Secure and Finish
Once you have braided all the way to the end, use an elastic band or hair tie to secure the braid. For a more polished look, gently tug on the outer sections of the braid to create volume and give it a fuller appearance. Finish with a light spritz of hairspray to keep your braid in place.
Exploring Variations: French Braids, Fishtail Braids, and More
Now that you’ve mastered the classic three-strand braid, let’s explore some popular variations that will add a touch of elegance and flair to your hairstyling repertoire.
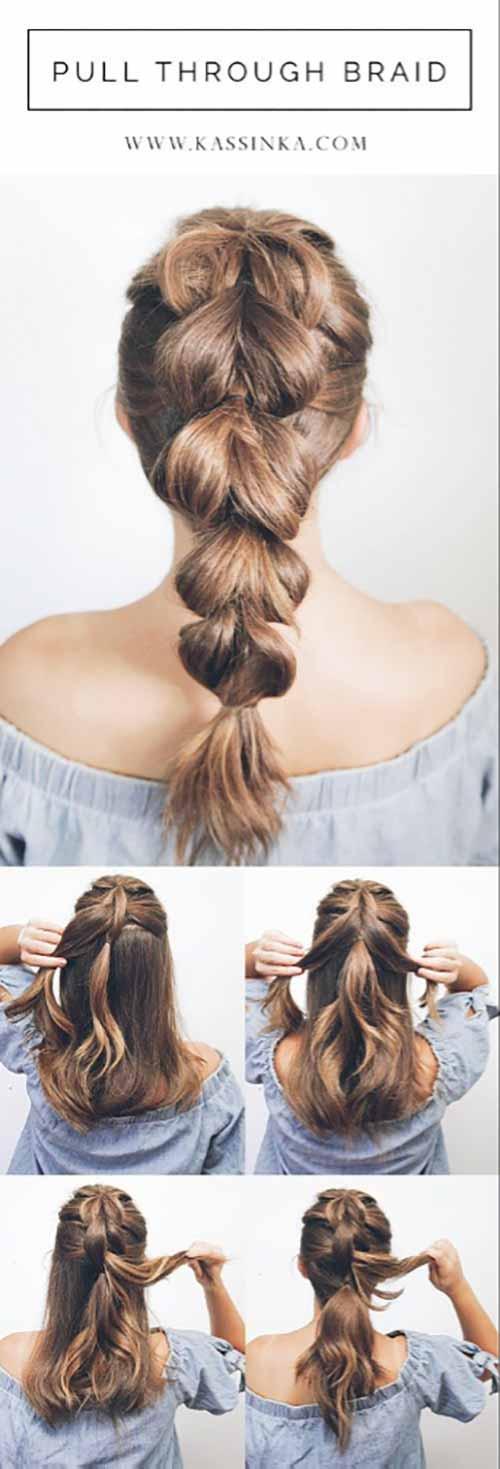
Image courtesy of www.stylecraze.com via Google Images
French Braid
The French braid is a beautiful and intricate style that appears as if the braid is woven into the scalp. Here’s how to achieve this stunning look:
Step 1: Prep and Divide
Brush your hair to eliminate tangles and create a smooth base. Begin by taking a small section of hair at the top, near your hairline. Divide it into three sections – left, middle, and right – just like in the three-strand braid.
Step 2: Cross and Add Hair
Start by crossing the left section over the middle section, then do the same with the right section. Now, here’s the crucial part: as you bring each section to the middle, pick up a small section of hair from either side and include it in the braid. This creates the distinct woven effect of the French braid. Repeat these steps, continuously adding more hair from either side, until you reach the nape of your neck.
Step 3: Continue and Secure
Once you reach the nape of your neck, continue braiding the rest of your hair in a traditional three-strand braid until you reach the end. Secure with an elastic band or hair tie, and lightly tug on the outer sections of the braid to add volume. Finish with hairspray to keep your French braid in place throughout the day.
Fishtail Braid
The fishtail braid is a trendy and eye-catching style that resembles the overlapping sections of a fish’s tail. Here’s how to achieve this chic look:
Step 1: Prep and Divide
Brush your hair to remove any knots or tangles. Then, divide your hair into two equal sections – left and right. Hold the left section with your left hand and the right section with your right hand.
Step 2: Cross and Combine
To begin braiding, take a small section from the outer edge of the left section and cross it over to the right section. Next, take a small section from the outer edge of the right section and cross it over to the left section, combining it with the rest of the left section. Repeat these steps, alternating between the left and right sections, until you reach the end of your hair.
Step 3: Secure and Finish
Once you’ve braided all the way to the end, secure the braid with an elastic band or hair tie. For a more relaxed and effortless look, gently pull on the outer sections of the braid to create a looser appearance. Finish with hairspray to keep your fishtail braid intact.
Experiment with Braided Hairstyles
Now that you have mastered the art of braiding, it’s time to unleash your creativity and experiment with various braided hairstyles. Here are some ideas to get you started:
– Dutch braid: Similar to the French braid, but with the sections crossing under each other instead of over.
– Waterfall braid: A half-up style where strands “cascade” down, resembling a waterfall.
– Crown braid: A regal and elegant style where the braid wraps around the head like a crown.
– Braided updo: Combining braids with an updo creates a sophisticated and polished look for special occasions.
Remember, practice makes perfect! Don’t be discouraged if your braids don’t turn out perfectly on the first try. With time, patience, and some experimentation, you’ll become a braiding pro in no time.
Conclusion
Braids are not only a practical and versatile hairstyle but also a beautiful form of self-expression. Whether you’re heading to a casual outing or a formal event, mastering various braiding techniques opens up a world of possibilities for styling your hair. With this ultimate guide, you’ve learned the fundamentals of braiding, explored different braid variations, and received inspiration for stunning braided hairstyles. It’s time to gather your tools, grab a strand of hair, and let your creativity flow – happy braiding!