Unlock the secret behind captivating braided hairstyles: Discover must-know tips and tricks for salon-worthy looks that stun on Instagram!
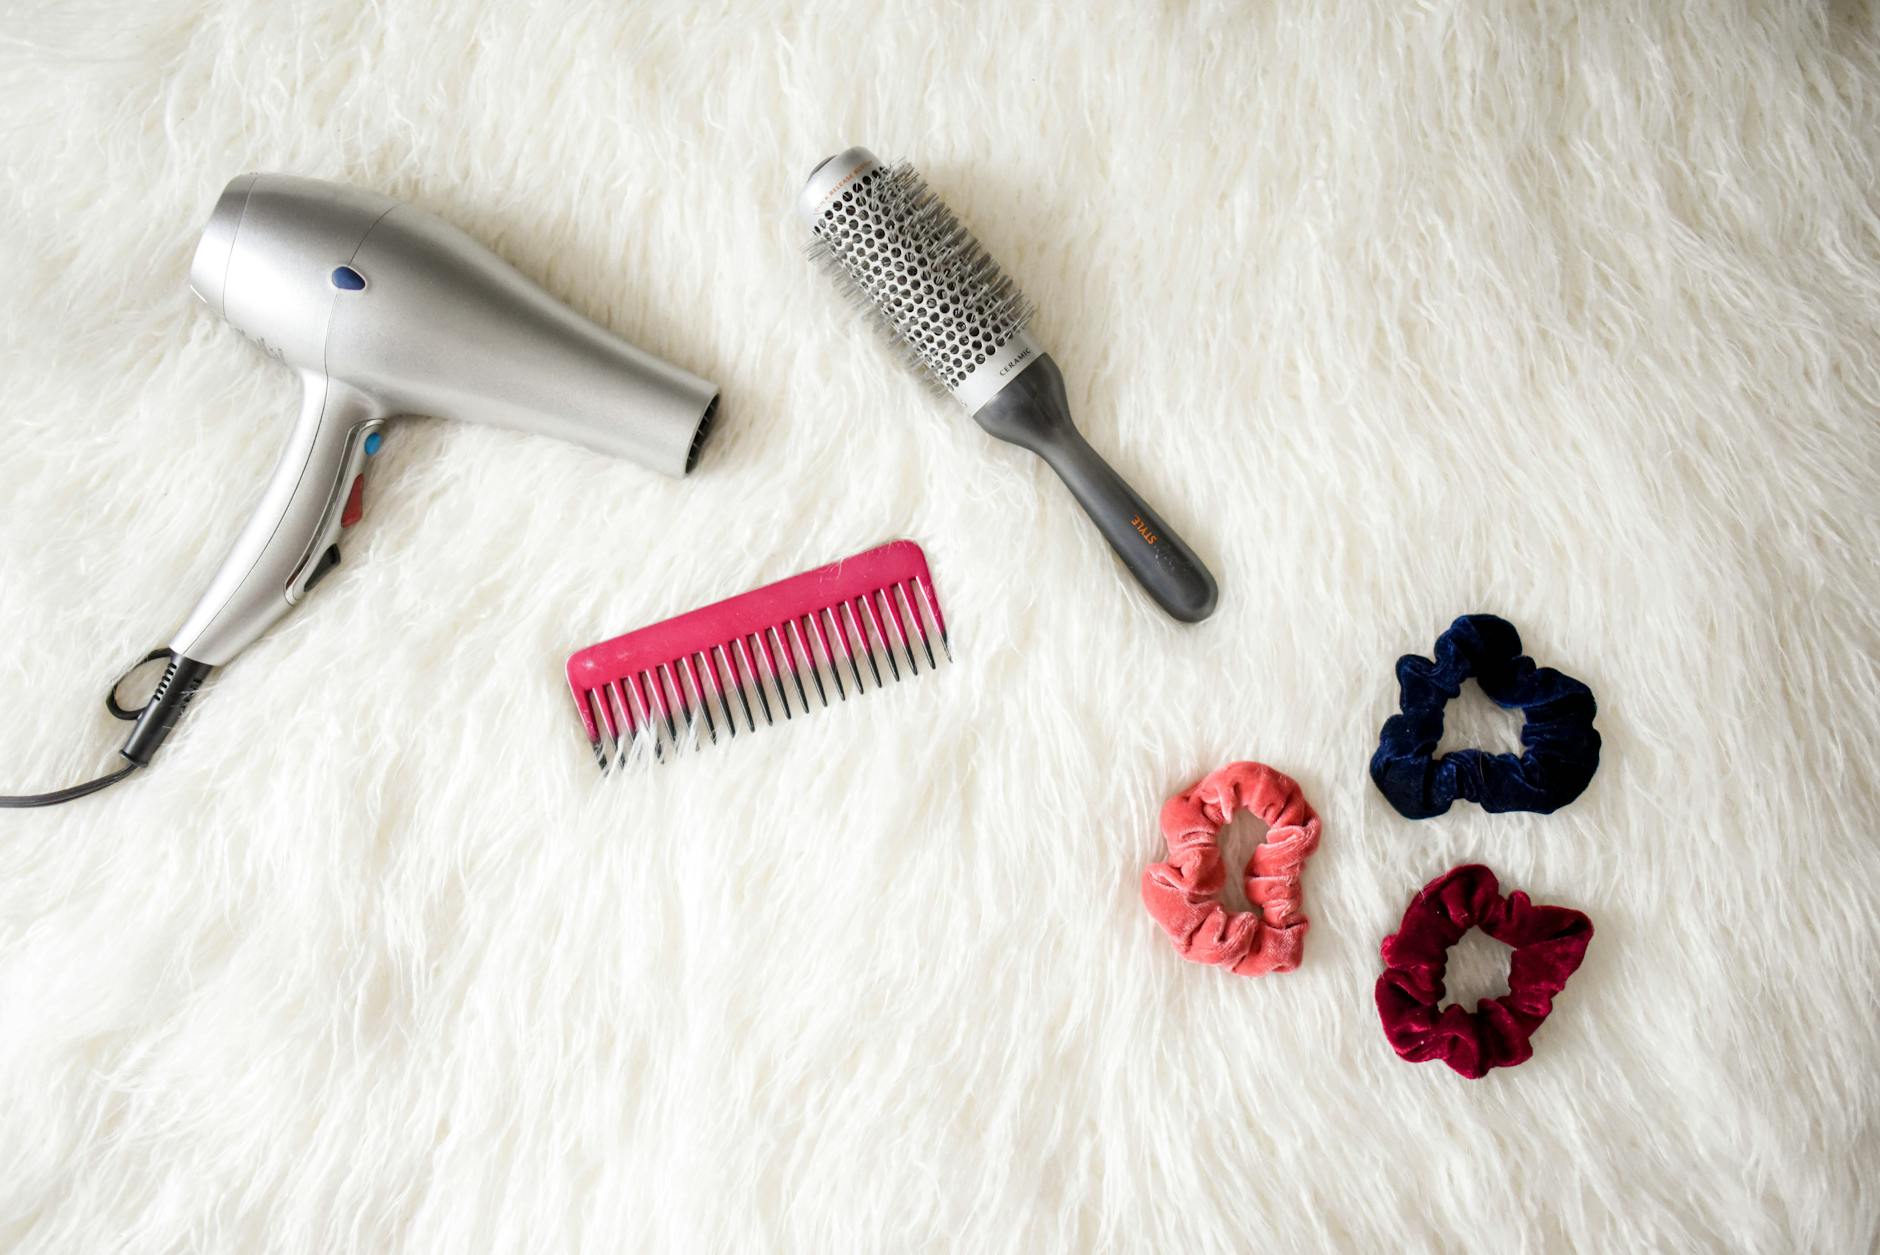
Image courtesy of Element5 Digital via Pexels
Table of Contents
Welcome to our blog! Today, we’re going to dive into the world of braids and share some essential tips and tricks for creating Instagram-worthy hairstyles. Whether you’re a professional hairstylist or someone who loves experimenting with their own hair, this blog post is here to inspire you and help you achieve stunning braided looks that will have everyone double-tapping on your Instagram feed. So, grab your comb and let’s get braiding!
The Basics: Essential Tools and Products
Before we start creating our braided masterpieces, it’s important to have the right tools and products on hand. Here are some essentials you’ll need:
Book Now For a Free Consultation
– A fine-toothed comb: This will help you create neat and precise sections for your braids.
– Hair elastics: Opt for clear elastics for a seamless look or colorful ones to add a fun pop of color to your braids.
– Bobby pins: These will come in handy for securing any loose ends or flyaways.
– Hairspray: Use a flexible hold hairspray to keep your braids in place without making them look stiff.
– Styling gel or pomade: These products can help smooth down frizz or flyaways and give your braids a polished finish.
Choosing the Right Braid Style
With countless braid styles to choose from, it can be overwhelming to decide which one to go for. Here are a few popular options to consider:
– French braid: This classic braid style starts at the crown of your head and gradually incorporates additional hair strands as you move towards the nape of your neck.
– Dutch braid: Similar to the French braid, the Dutch braid also starts at the crown but instead of crossing the strands over, you cross them under, creating a more intricate and raised look.
– Fishtail braid: This boho-chic braid style is created by splitting your hair into two sections and then weaving small sections from one side to the other.
– Box braids: Perfect for those with thicker or textured hair, box braids involve sectioning the hair into small squares and braiding each section from the root to the tip.
Prepping Your Hair for Braiding
Now that you’ve chosen your desired braid style, it’s important to prepare your hair to ensure the best results. Here’s what you can do:
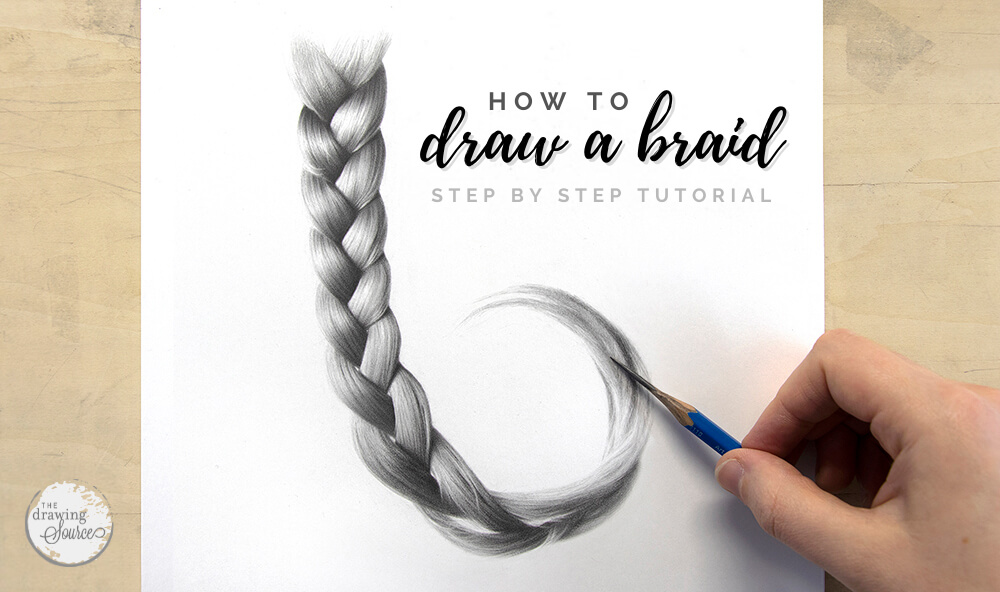
Image courtesy of www.thedrawingsource.com via Google Images
– Start with clean and detangled hair: Wash and condition your hair using products that are suitable for your hair type, then gently detangle any knots or tangles using a wide-toothed comb.
– Apply a leave-in conditioner: This will help moisturize your hair and make it easier to work with. Focus on the mid-lengths to ends of your hair, avoiding the roots to prevent excessive oiliness.
– Divide your hair into sections: Use a fine-toothed comb to create clean and even sections for braiding. This will help you achieve a neat and symmetrical look.
– Add some texture: If your hair is too silky or slippery, it may be challenging to keep your braids in place. Consider using a texturizing spray or dry shampoo to add some grip and hold to your hair.
Braiding Techniques for a Polished Look
Now it’s time to start braiding! Here are some techniques to help you achieve a polished and professional-looking braid:
– Tug and pinch: To create a fuller and more voluminous braid, gently tug on the sections of your braid after securing them with an elastic. You can also use your fingers to pinch and loosen the strands for a more effortless and relaxed look.
– Pancake your braid: After securing your braid, carefully pull apart the sections to make them appear wider and more voluminous. This technique works particularly well with Dutch braids and fishtail braids.
– Incorporate accessories: Elevate your braided hairstyle by adding some trendy accessories such as hair rings, colorful ribbons, or small flowers. Play around with different placement options to add an extra wow factor to your look.
– Embrace imperfections: Remember, braiding is an art, and perfection isn’t always necessary. Embrace any imperfections or flyaways as they add character and make the style more unique. Instead of striving for absolute perfection, focus on creating beautiful and Instagram-worthy braids that reflect your personal style.
Final Touches: Finishing and Securing Your Braids
After you’ve completed your braided masterpiece, it’s important to give it that final touch to ensure it lasts all day. Here’s what you can do:
– Use hairspray: Lightly mist your braids with a flexible hold hairspray to keep them in place without weighing them down. Be sure to hold the spray about 6-8 inches away from your hair to achieve an even distribution.
– Secure loose ends: If you have any loose ends or flyaways, use bobby pins or small elastics to secure them discreetly. Apply a small amount of styling gel or pomade to smooth down any stubborn strands.
– Protect your braids while you sleep: To maintain your braids overnight, loosely tie a silk or satin scarf around your head to prevent frizz and preserve the shape of your braids.
There you have it! With these tips and tricks, you’re well-equipped to create stunning and Instagram-worthy braided hairstyles. Remember to practice, experiment, and have fun with different braid styles and techniques. Happy braiding!