Unlock the secrets to awe-inspiring braids and turn heads with our step-by-step guide to mastering the art!

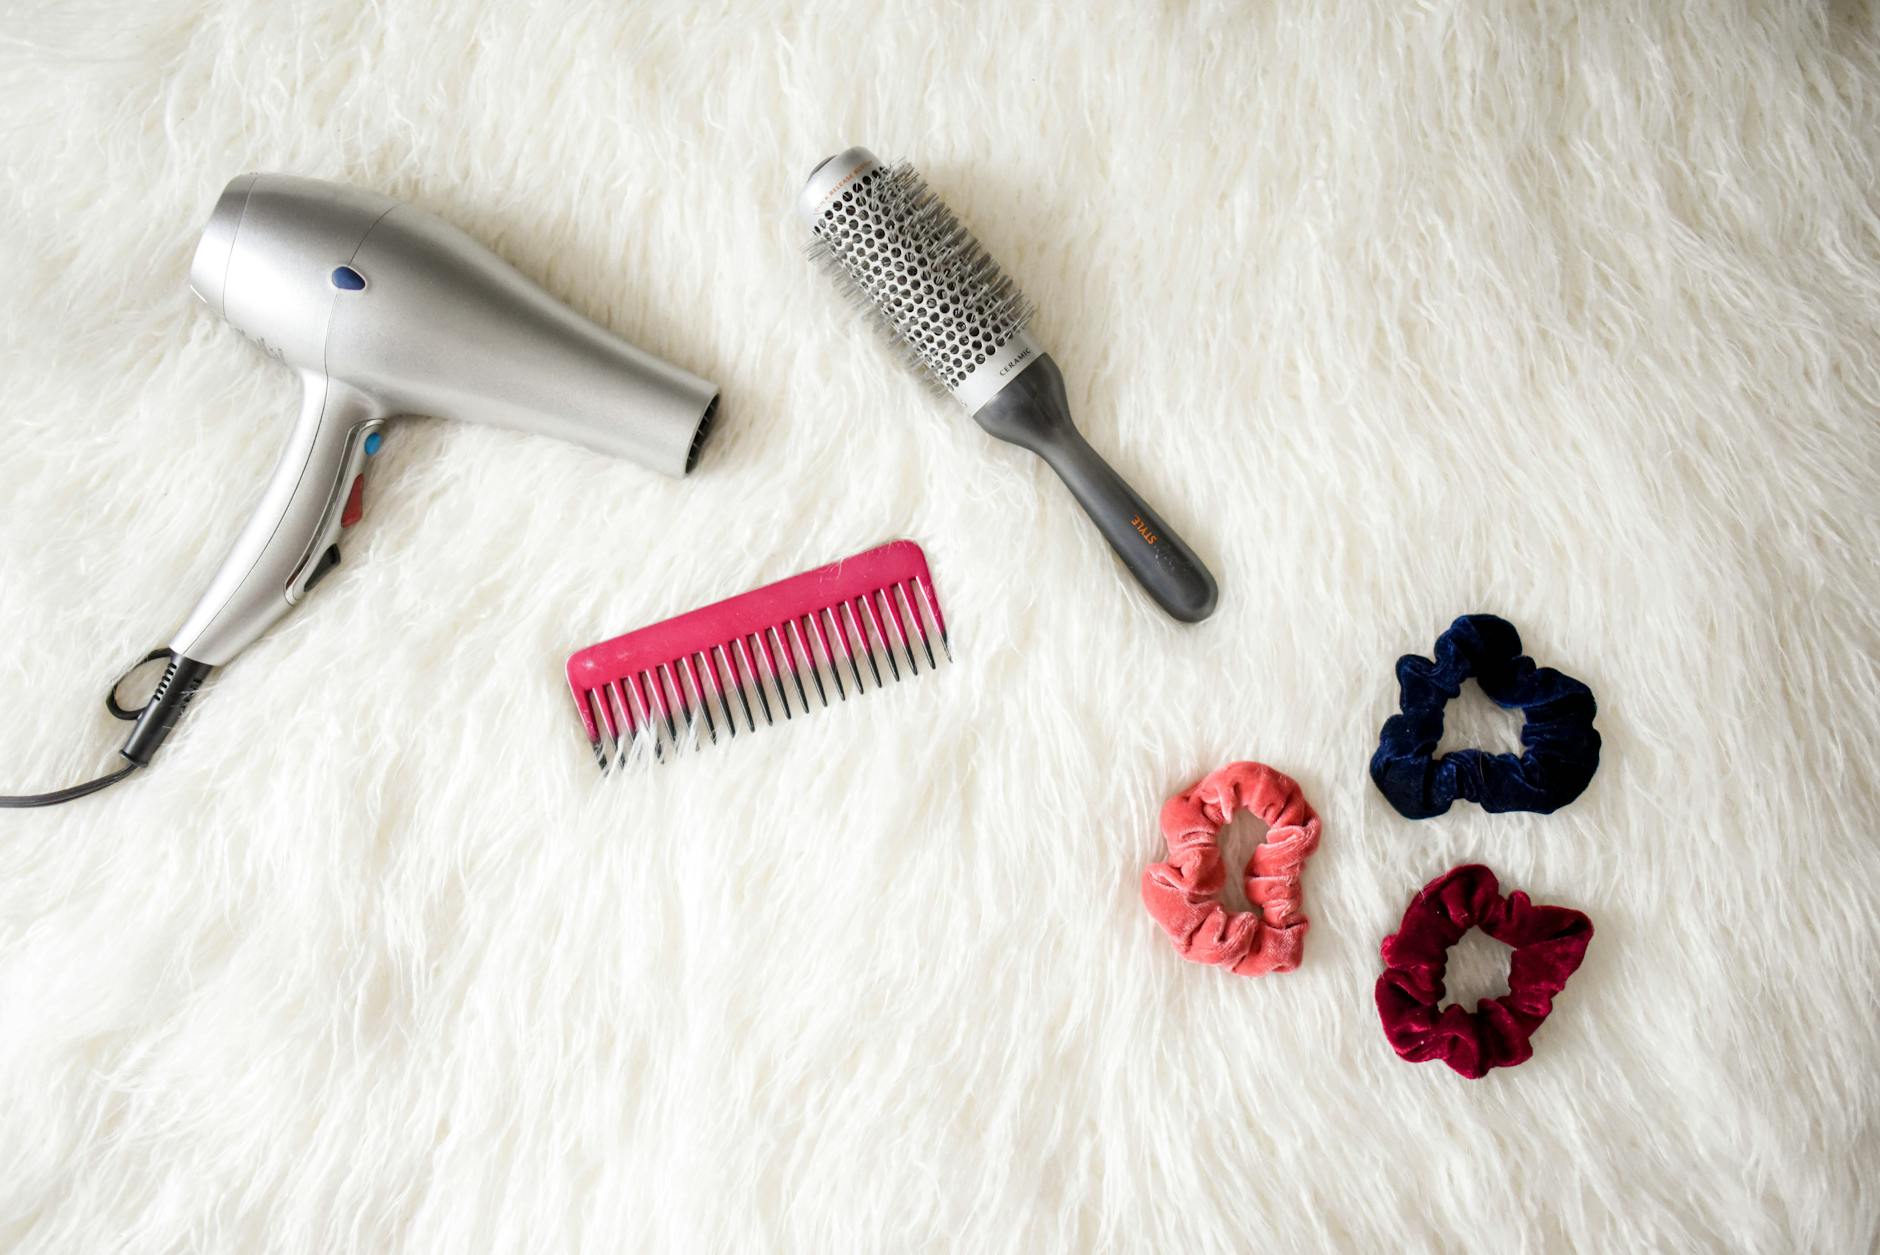
Image courtesy of Element5 Digital via Pexels
Table of Contents
Welcome to our ultimate guide to perfecting your braiding skills! Braids have become a versatile and popular hairstyle that can be worn for various occasions, from casual outings to elegant events. Whether you’re a beginner looking to master the basic techniques or an experienced braider searching for new inspiration, this guide will provide you with everything you need to create stunning braided hairstyles.
Why Braids?
Braids offer numerous benefits beyond their aesthetic appeal. They are versatile, low-maintenance, and suitable for all hair types and lengths. Additionally, braids protect your hair from damage caused by environmental factors and excessive heat styling.
Getting Started: Essential Tools and Preparations
Before diving into braiding, gather the necessary tools and prepare your hair to ensure a smooth and successful braiding process.
Tools You’ll Need:
- Rat tail comb
- Bobby pins
- Hair elastics or small rubber bands
- Hair clips
- Texturizing spray or hair mousse (optional)
- Hair extensions (optional)
Preparing Your Hair:
Follow these steps to prepare your hair for braiding:
- Start with clean and detangled hair. Use a gentle shampoo and conditioner, and comb out any knots or tangles.
- If you have straight or slippery hair, add some texture by applying a texturizing spray or hair mousse to give your braids a better grip.
- If desired, add hair extensions for extra length or volume.
Basic Braiding Techniques
Mastering the basic braiding techniques is crucial before moving on to more intricate styles. Here are three fundamental braiding techniques to get you started:

Image courtesy of issuu.com via Google Images
1. Three-Strand Braid:
The three-strand braid, also known as a regular braid or a classic braid, is the foundation for many other braided hairstyles.
Here’s how to create a three-strand braid:
- Divide your hair into three equal sections: left, middle, and right.
- Cross the right section over the middle section.
- Cross the left section over the new middle section.
- Repeat steps 2 and 3 until you reach the desired length.
- Secure the braid with a hair elastic.
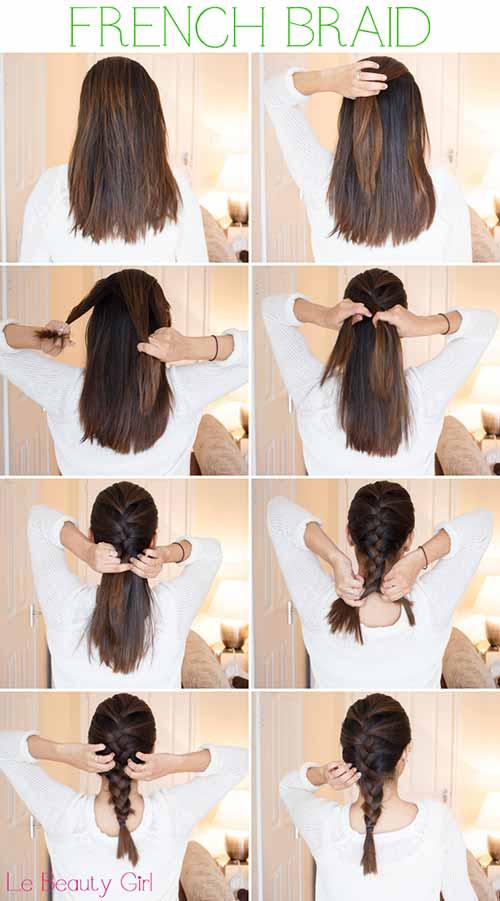
2. French Braid:
The French braid is a classic and elegant style that adds sophistication to any look.
Follow these steps to create a French braid:
- Start by sectioning off a small portion of hair at the top center of your head and divide it into three equal sections.
- Cross the right section over the middle section.
- Cross the left section over the new middle section.
- With each subsequent crossover, add a small section of hair from the sides to the outer sections before crossing them over the middle section.
- Continue this process, gradually incorporating all the hair from the sides into the braid.
- Once you’ve reached the nape of your neck, continue braiding the rest of the hair in a regular three-strand braid.
- Secure the braid with a hair elastic.
3. Dutch Braid:
The Dutch braid, also known as an inverted braid or inside-out braid, creates a beautiful raised effect that stands out.
Follow these steps to create a Dutch braid:
- Start by sectioning off a small portion of hair at the top center of your head and divide it into three equal sections.
- Cross the right section under the middle section (instead of over, as in a regular braid).
- Cross the left section under the new middle section.
- With each subsequent crossover, add a small section of hair from the sides to the outer sections before crossing them under the middle section.
- Continue this process, gradually incorporating all the hair from the sides into the braid.
- Once you’ve reached the nape of your neck, continue braiding the rest of the hair in a regular three-strand braid.
- Secure the braid with a hair elastic.
Elevating Your Braiding Skills: Advanced Techniques
Once you’ve mastered the basic braiding techniques, it’s time to take your skills to the next level with some advanced braiding techniques.
Fishtail Braid:
The fishtail braid is a trendy and intricate style that appears intricate but is relatively simple to create.
Follow these steps to create a fishtail braid:
- Divide your hair into two equal sections.
- Take a small strand of hair from the outer edge of the left section and cross it over to join the right section.
- Repeat step 2 on the right section, taking a small strand of hair from the outer edge and crossing it over to join the left section.
- Continue alternating between the left and right sections until you reach the end of your hair.
- Secure the braid with a hair elastic.
Dutch Crown Braid:
The Dutch crown braid is a stunning style that wraps around the head like a crown, perfect for special occasions.
Follow these steps to create a Dutch crown braid:
- Start by sectioning off a small portion of hair near your left temple.
- Divide this section into three equal sections.
- Create a Dutch braid, incorporating hair from the sides and adding it to the outer sections before crossing them under the middle section.
- Continue braiding, gradually incorporating all the hair from one side of your head into the braid.
- Once you’ve reached the opposite temple, continue braiding the rest of the hair in a regular three-strand braid.
- Repeat steps 1-5 on the other side of your head.
- Secure both braids with hair elastics and join them together at the back of your head with bobby pins.
Creating Braided Updos: Adding Elegance and Sophistication
Updos are a versatile and stylish way to showcase your braiding skills. Here are two popular braided updos:

Image courtesy of www.stylecraze.com via Google Images
Messy Bun with a French Braid:
This romantic and effortless updo combines a messy bun with a French braid for a chic and playful look.
Braided Crown Updo:
A braided crown updo exudes elegance and works perfectly for weddings, proms, or any special occasion.
Final Touches: Polishing and Securing Your Braids
After completing your desired braided hairstyle, it’s essential to ensure it stays in place all day. Here’s how:
Polishing:
- Use a rat tail comb to gently pull apart the strands of your braid, creating a fuller and more textured appearance.
- Mist the braid with hairspray to hold it in place and minimize flyaways.
Securing:
- For added security, insert bobby pins along the base of the braid or at any loose sections.
- Wrap a small strand of hair around the hair elastic used to secure the braid, concealing it for a polished look.
Now that you have learned the essential braiding techniques, advanced styles, and tips for securing your braids, it’s time to unleash your creativity and experiment with different braided looks! Whether you’re attending a casual event or an elegant soirée, braided hairstyles are sure to turn heads and make you feel confident and beautiful.
Remember, practice makes perfect. Don’t be discouraged if your first attempts aren’t flawless. With time, patience, and dedication, you’ll become a braiding master. Enjoy the journey and have fun expressing your unique style through braided hairstyles!