Unlock the secrets of flawless braiding with our expert step-by-step guide – unleash your inner hair artist today!
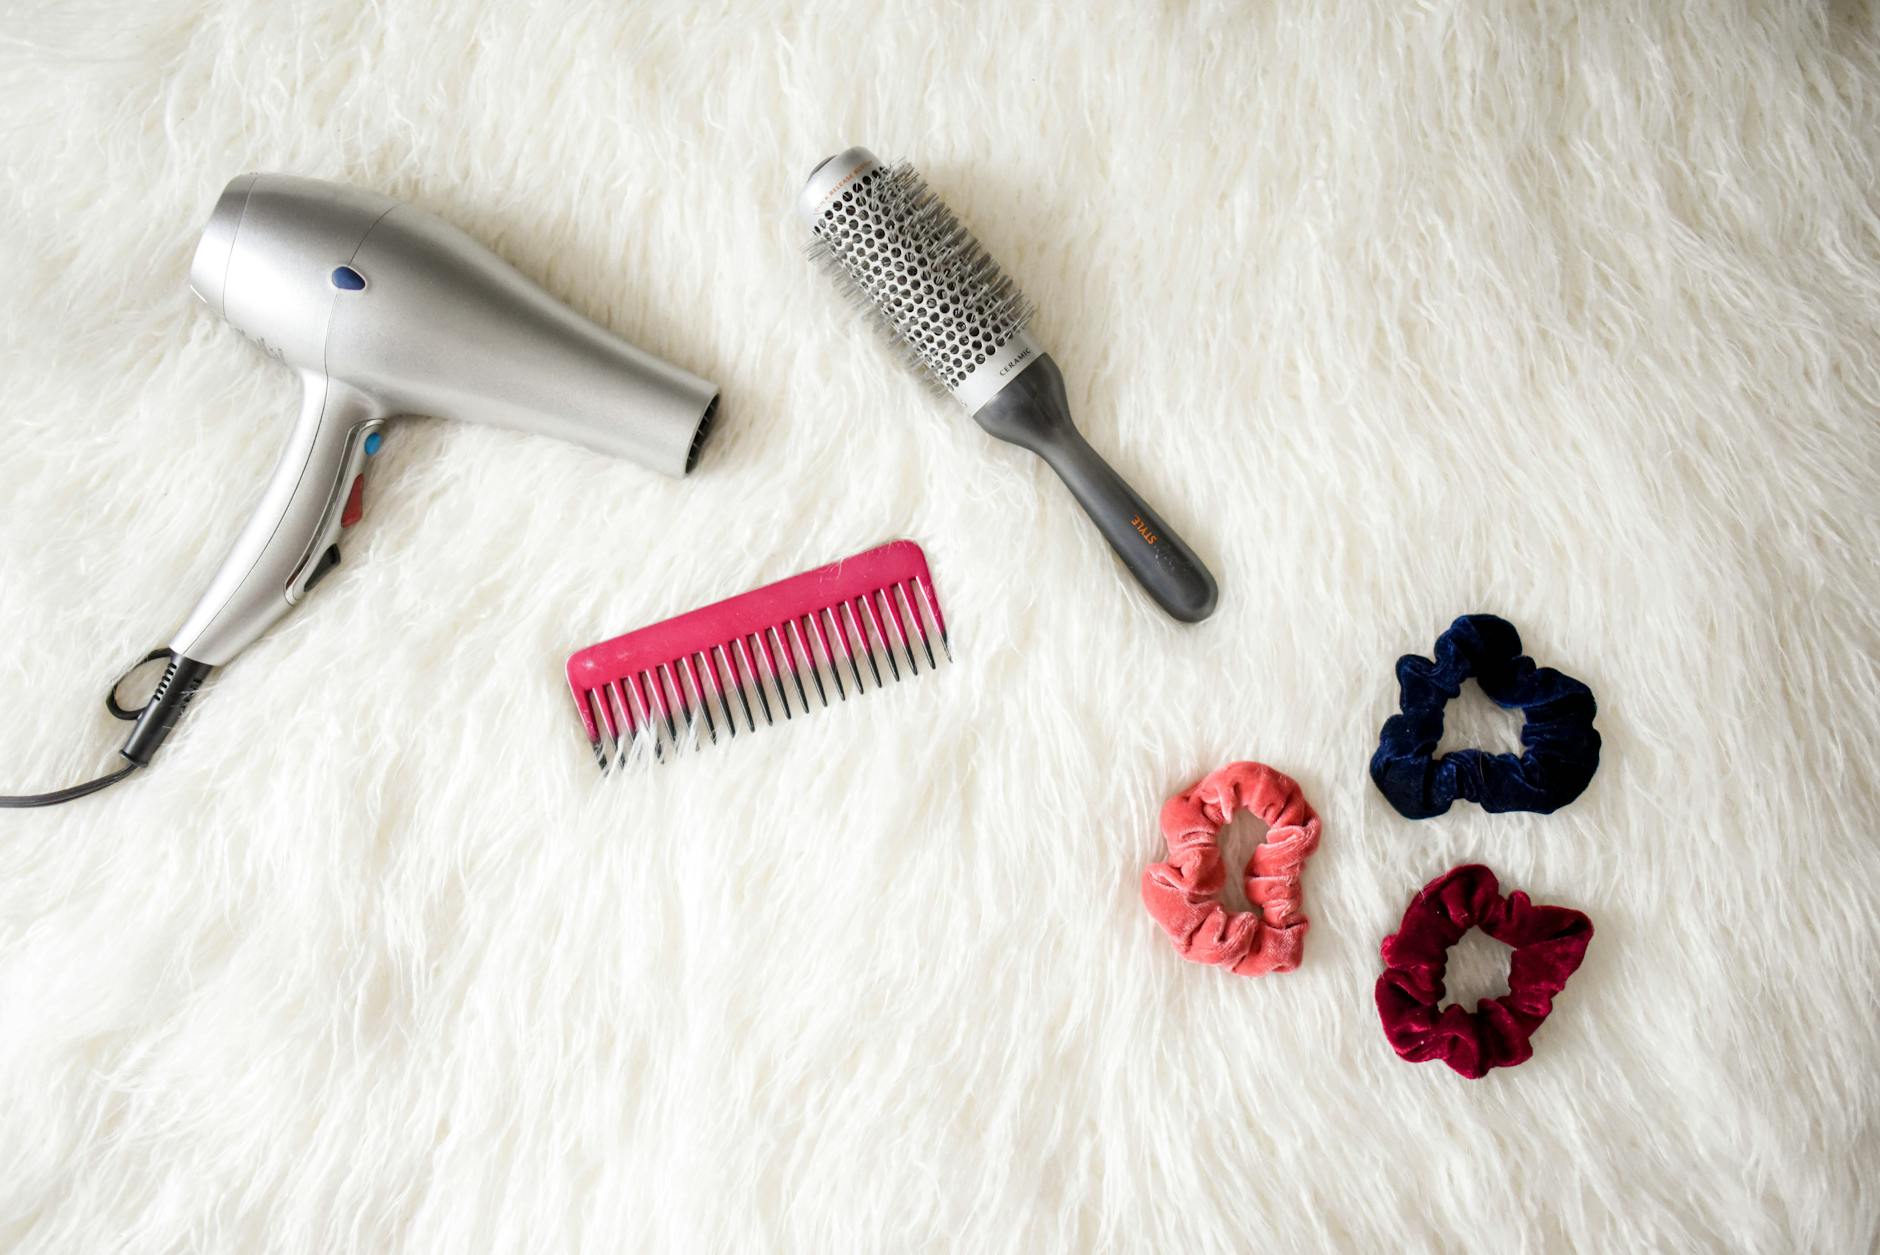
Image courtesy of Element5 Digital via Pexels
Table of Contents
Introduction:
Are you tired of your same old hairstyle and looking for a bold, new look? Look no further! One of the hottest trends in hair styling right now is braids. From simple and elegant to intricate and eye-catching, braids can transform your entire look and make a fashion statement. But if you’re new to braiding, you may be wondering where to start. Don’t worry, we’ve got you covered! In this step-by-step guide, we will walk you through the process of braiding like a pro. Get ready to rock bold braids and turn heads wherever you go!
Hair Preparation
Before you start braiding, it’s important to prepare your hair to ensure the best results. Here’s what you need to do:
1. Cleanse and condition: Start by washing your hair with a gentle shampoo and conditioner to remove any product buildup. Clean, well-conditioned hair will be easier to work with and will result in a smoother braid.
2. Detangle: Use a wide-toothed comb or a detangling brush to gently remove any knots and tangles from your hair. This step is crucial to ensure a seamless braiding process without any snags.
3. Apply a styling product: Apply a small amount of styling product, such as a leave-in conditioner, curl cream, or hair gel, to add moisture and hold to your hair. This will make your braids last longer and maintain their shape.
Choosing the Right Braid Style
Now that your hair is prepped and ready, it’s time to choose the braid style that suits your taste and the occasion. Here are a few popular braid styles to consider:
1. French braid: The French braid is a classic and elegant style that involves incorporating sections of hair as you braid, resulting in a seamless, woven look. This style is perfect for both casual and formal events.
2. Dutch braid: The Dutch braid is similar to the French braid, but instead of crossing the sections over, you cross them under. This creates a braid that appears to pop out from the head, giving it a more voluminous and defined look.
3. Fishtail braid: The fishtail braid is a trendy and chic style that creates the illusion of a fishtail by interweaving two sections of hair. It’s a versatile style that works well for both casual and formal occasions.
4. Boxer braids: Boxer braids, also known as cornrow braids, are perfect for those who want a sleek and edgy look. These tight and symmetrical braids are great for keeping your hair out of your face during workouts and hot summer days.
The Braiding Process
Now that you’ve chosen your desired braid style, it’s time to start braiding. Follow these steps for a flawless braiding process:

Image courtesy of www.amazon.com via Google Images
Step 1: Divide your hair: Start by dividing your hair into three equal sections – left, middle, and right. Secure the remaining hair with hair clips or bands to keep it out of the way.
Step 2: Begin braiding: Take the right section of hair and cross it over the middle section. Then, take the left section and cross it over the middle section. Repeat this process, alternating sides, until you reach the desired length.
Step 3: Add more hair: As you continue braiding, incorporate more hair from each side into the outer sections. This will create a seamless and continuous braid. Keep adding hair until you reach the end of your hair.
Step 4: Secure the braid: Once you reach the end of your hair, secure the braid with a hair tie or an elastic band. You can also use decorative accessories like ribbons or hairpins to add a personal touch to your braided hairstyle.
Finishing Touches
Now that your braid is complete, here are a few tips to make your braided hairstyle stand out:
1. Texturize the braid: Gently pull on the outer sections of your braid to loosen and create a fuller, more textured look. This will add dimension to your hairstyle and make it appear more voluminous.
2. Add embellishments: Play around with accessories like ribbons, beads, or flowers to add a touch of glamour to your braided hairstyle. You can weave them into your braid or place them strategically for an eye-catching effect.
3. Use hairspray: To ensure your braid stays in place all day, spritz a light-hold hairspray over your entire hairstyle. This will help control flyaways and keep your braid looking neat and polished.
Conclusion
With this step-by-step guide and some practice, you’ll be able to rock bold braids like a pro. Remember to start with well-prepped hair, choose a braid style that suits you, and follow the braiding process carefully. Don’t be afraid to experiment with different textures and accessories to make your braids truly unique. So, go ahead, unleash your inner braiding skills, and enjoy the attention that your fabulous braided hairstyle will bring!