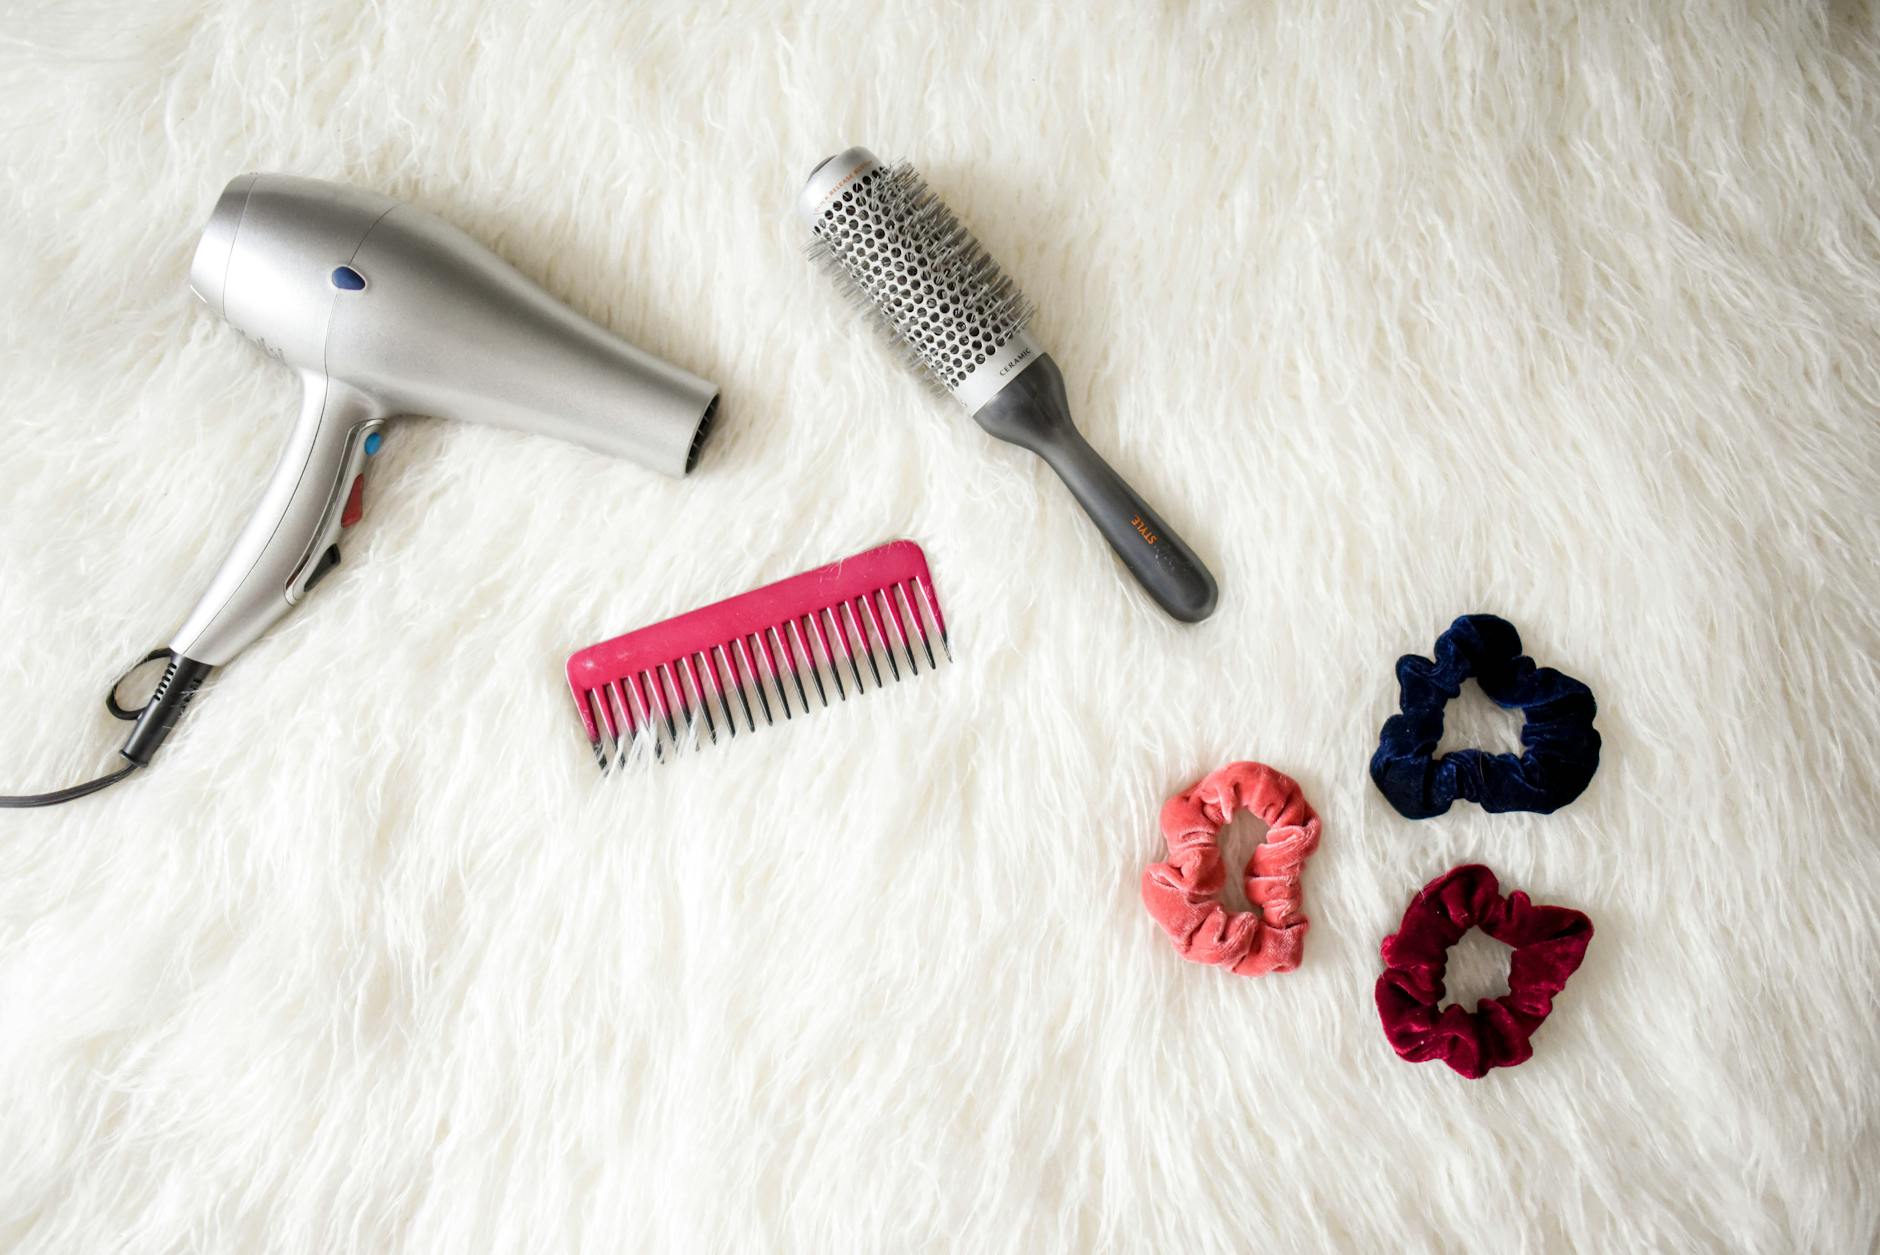
Unlock the secrets of flawless braided hairstyles! Master them all with our foolproof step-by-step tutorial, coming your way.

Image courtesy of Element5 Digital via Pexels
Table of Contents
Introduction:
When it comes to achieving a stylish and versatile hairstyle, braids reign supreme. Whether you’re going for an elegant updo or a casual boho look, braids can add the perfect touch to any hairstyle. In this ultimate guide, we will take you through a step-by-step tutorial on how to create the most popular braided hairstyles. From classic French braids to trendy fishtail braids, get ready to master the art of braiding.
The Classic French Braid:
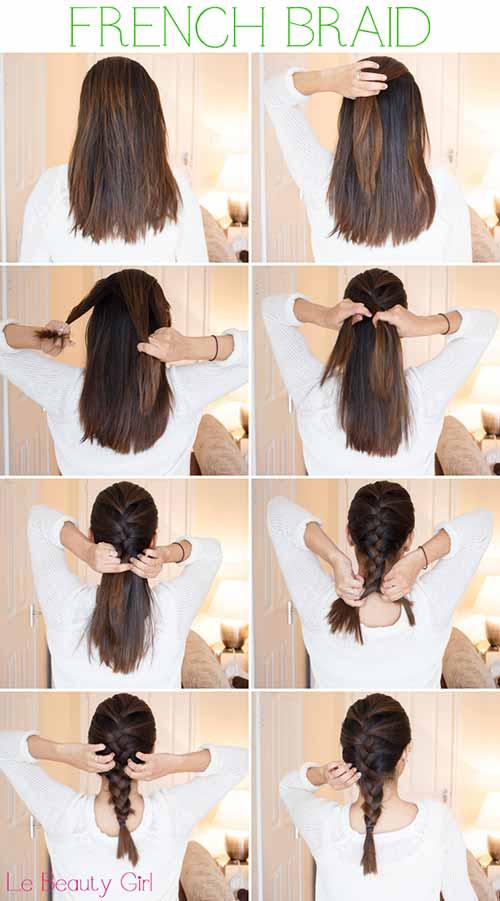
The French braid is a timeless and elegant hairstyle that never goes out of style. Follow these simple steps to create a flawless French braid:
Book Now For a Free Consultation
Step 1: Start by brushing your hair to remove any tangles and knots. This will make it easier to work with.
Step 2: Take a small section of hair from the top of your head and divide it into three equal sections.
Step 3: Cross the right section over the middle section and then cross the left section over the middle section.
Step 4: Repeat this process, adding small sections of hair to each side as you go along. Remember to always cross the right section over the middle section and then the left section over the middle section.
Step 5: Continue braiding until you reach the nape of your neck, and then secure the braid with a hair tie.
Step 6: To give your braid a fuller and more voluminous look, gently pull apart the sections of the braid to loosen it up.
The Boho-Chic Fishtail Braid:
If you’re looking for a trendy and effortlessly cool hairstyle, the fishtail braid is the way to go. Here’s how you can create a beautiful fishtail braid:
Step 1: Start by brushing your hair to remove any tangles and knots. This will make it easier to work with.
Step 2: Divide your hair into two equal sections.
Step 3: Take a small section of hair from the outer edge of the left section and cross it over to join the right section.
Step 4: Repeat this process on the opposite side. Take a small section of hair from the outer edge of the right section and cross it over to join the left section.
Step 5: Keep repeating this process, alternating between the left and right sections, until you reach the end of your hair.
Step 6: Secure the braid with a hair tie and gently pull apart the sections of the braid to give it a more relaxed and bohemian look.
The Romantic Dutch Braid Updo:
If you have a special occasion coming up and want to create a romantic and elegant hairstyle, the Dutch braid updo is the perfect choice. Follow these steps to recreate this stunning look:

Image courtesy of www.stylecraze.com via Google Images
Step 1: Create a deep side part and brush your hair to remove any tangles and knots.
Step 2: Start by taking a small section of hair near your part and divide it into three equal sections.
Step 3: Cross the right section under the middle section, then cross the left section under the middle section.
Step 4: As you continue braiding, add small sections of hair to each side, crossing them under the middle section.
Step 5: Keep braiding until you reach the nape of your neck, then secure the braid with a hair tie.
Step 6: Gather the remaining hair into a low bun and secure it with bobby pins.
Step 7: Wrap the braid around the bun, tucking the ends underneath, and secure with bobby pins.
Step 8: To finish off the look, gently pull apart the sections of the braid to create a fuller and more textured effect.
The Trendy Braided Ponytail:
A braided ponytail is a chic and stylish hairstyle that can instantly elevate your look. Follow these steps to create a trendy braided ponytail:
Step 1: Brush your hair to remove any tangles and knots, then gather it into a high ponytail and secure it with a hair tie.
Step 2: Take a small section of hair from the ponytail and divide it into two equal sections.
Step 3: Cross the right section over the left section, then add a small section of hair from the ponytail to the right section.
Step 4: Cross the left section over the right section, then add a small section of hair from the ponytail to the left section.
Step 5: Keep repeating this process, alternating between the right and left sections, until you reach the end of the ponytail.
Step 6: Secure the braid with a hair tie and gently pull apart the sections of the braid to create a fuller and more textured look.
Conclusion:
With these step-by-step tutorials, you can now create a variety of braided hairstyles to suit any occasion. Whether you prefer a classic French braid or a trendy fishtail braid, there’s a braid for everyone. So, grab your hair tools and start braiding your way to fabulous and fashionable hairstyles.